Just look at this example :

How to make it..?
Let's start from scratch:
1. Open your scanned image into photoshop
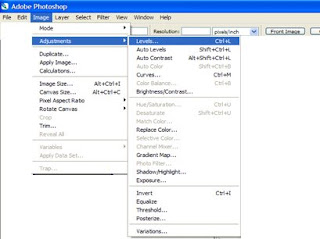
2. Change the level from scanned image, so it will
be more clear to see.Image->adjustment->level
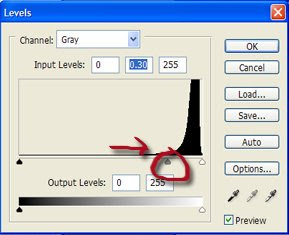
3. Move the input levels 0 ; 0.30 ; 255 ( or just move the slider just like the image below)
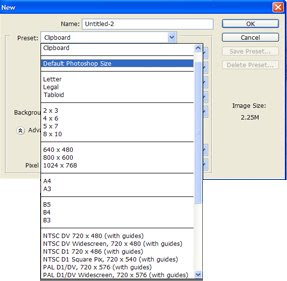
4. Make new layer, why? because usually the file from scanned image so big, so we will make the new file with lower memory. File->new->(choose default photoshop size)->ok
5. Activate the move tool from toolbar

6. Now from first layer, move the scanned image into our new layer that we create in step 4, by using move tool.
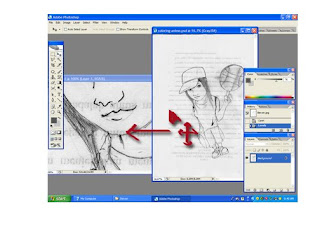
7. See, now we have layer 1 in our new layer.
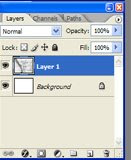
8. After that, still activate in layer 1, we have problem, the scanned image that we moved is too big, we have to minimize it, click edit->free transform (ctrl + t)
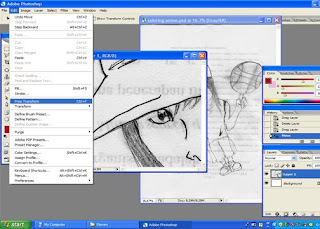
9. After minimize, click CROP TOOL in toolbar. We will cut the image that not used in our new layer.

10.Look, the image that we crop showed in gray area. The gray area will cropped.
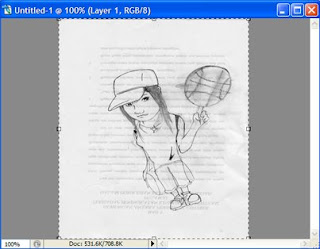
11.Now, the image ready to get colored
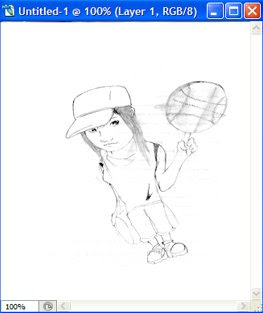
12.We will use selection tool to help us color the image, activate the wand tool in toolbar.

13.Zoom the image, its make us easly select the area. Click ctrl + (control and click plus mark).
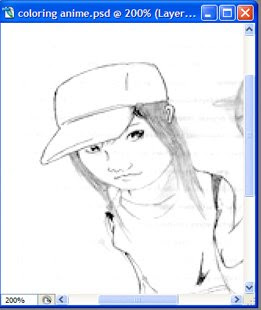
14.Make new layer again above layer 1, named it hat coloring, this layer will we us only for hat coloring. (its need because we don't want damage our image)
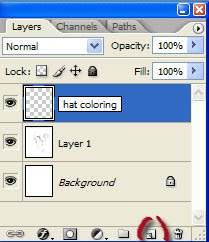
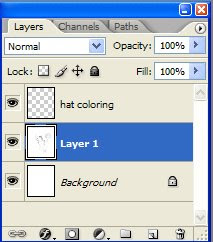
15.Activate again layer 1 (to select the area using selection tool).
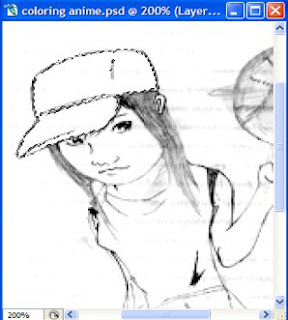
16.Now using the wand tool, left click on the hat, till the area around the hat selected just like in the screenshoot below.
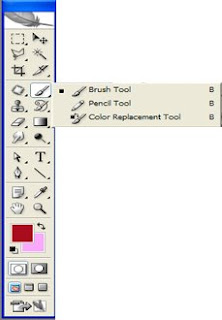
17.Activate brush tool in toolbar.
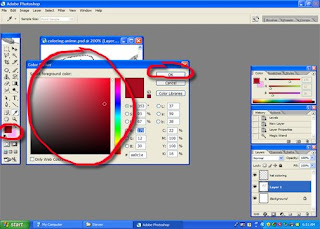
18.Click the set foreground color, and choose the colour u like.
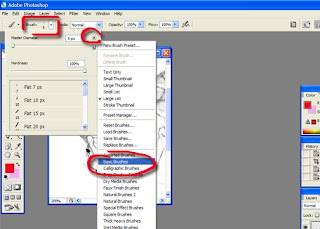
19.Now, set up the brush, while the brush tool activated, click drop down menu just like in screenshoot below, and choose basic brushes.
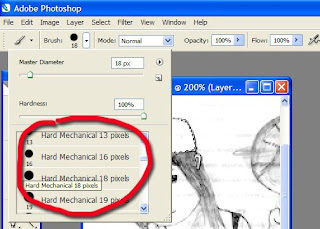
20.Choose the circle brushes shape, its make us easier to coloring.
21.Now, activate the layer hat coloring (left click on hat coloring layer), while the hat in layer 1
still selected.
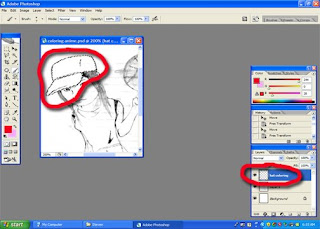
22.Using brush tool, fill the hat with color.
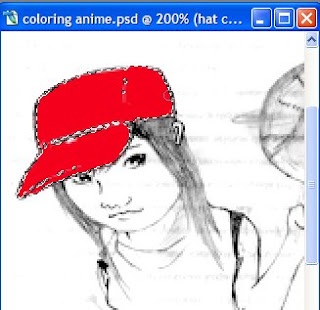
23.Back again to layer properties, see the normal text..? There is drop down arrow, click it and change to multiply, to the pencil scratch will visible.
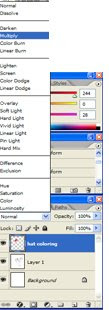
24.Pick the foreground colour again, but now choose the colour with lighter colour.
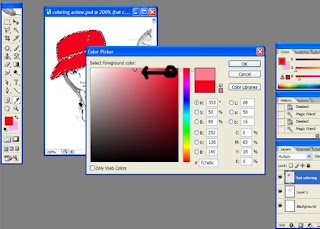
25.Remember, before coloring activate the hat coloring layer before! and fill the hat with lighter colour again on the hat just like in the screenshoot. Better huh?
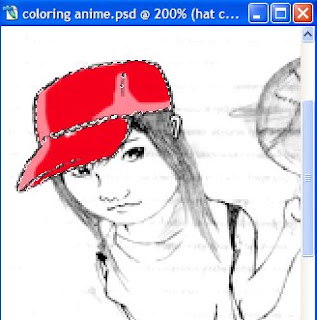
26.Click ctrl + d -> to release the selection from image.
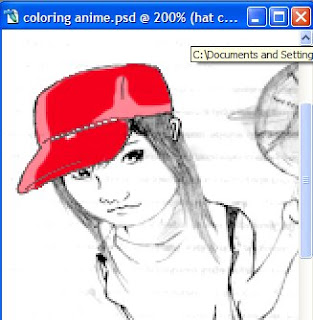
27.Repeat step 4 till step 26 for coloring another part from the image.
TIPS Today for this trick :
1. U can use Pollygonal lasso tool too to select the area
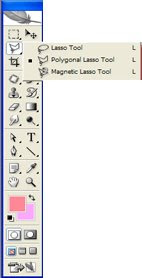
2. Look screenshoot below
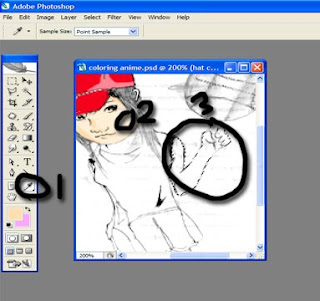
2 --> is the colored face
3 --> the hand that u want to coloring it
U wanna coloring the 3 with the same colour in 2, just using 1 (color picker tool), select colour picker and left click on
2 area, so the foreground colour will automatically change the same as colour in number 2, and u can start coloring the hand (number 3).
Good luck to try ^^,


|