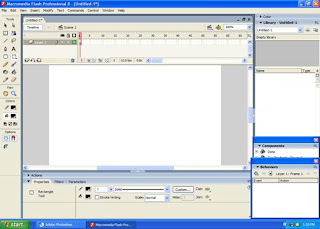
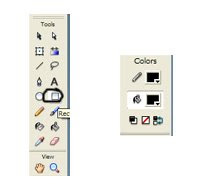
Step 3
Click rectangle tool on toolbox and change fill color and stroke color into black
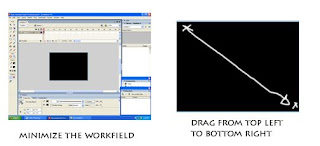
Step 4
Minimize the work field using ctrl and - (hold together)
Make the rectangle fill all the work field (drag it to make rectangle)
Step 5
Make new layer
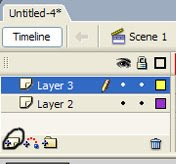
Step 6
Activate brush tool, change color into white and change the brush size and brush shape

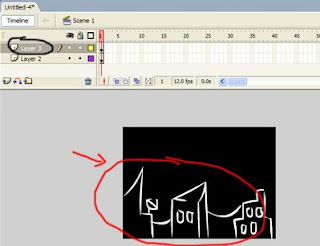
Step 7
Make sure activate the new layer (in mine is layer 3), and using brush tool draw the city like the example below
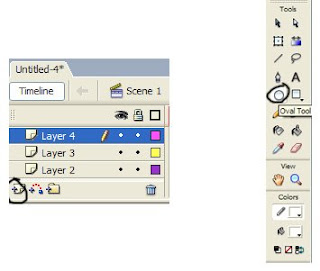
Step 8
-Make new layer again and named it layer 4 (double click on the text beside layer to change the name)
-Activate oval tool
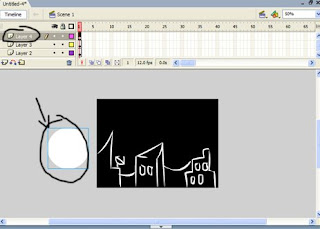
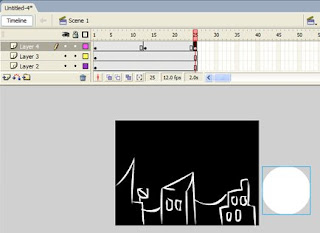
Step 9
Draw oval tool outside left beside the work field on layer 4 (new layer we created before)
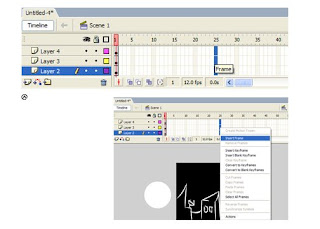
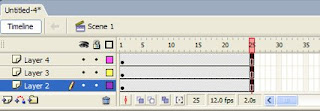
Step 10
-on the frame number 25 (look at the image), hold left click and drag till the 3 frame vertically selected
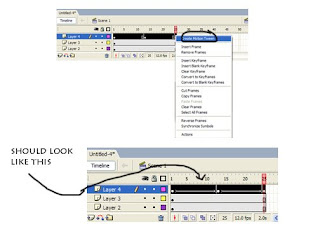
-Then, while the frame selected, right click and select insert frame.
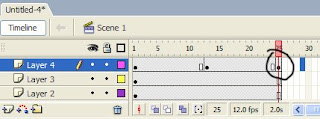
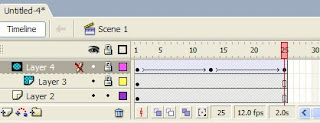
Step 11
If step 10 done correctly, the timeline will look like this (notes: the frame allocated in timeline, based on second, the number above frame)
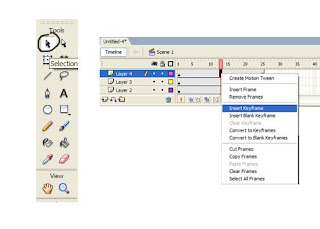
Step 12
-Activate selection tool
-Now on the frame 13 (between 10 and 15), left click then right click and select insert key frame
note: key frame used to make the different frame from before, different frame can use to make different image.
Step 13
Then make key frame again like in step 12, but now make key frame on frame 25
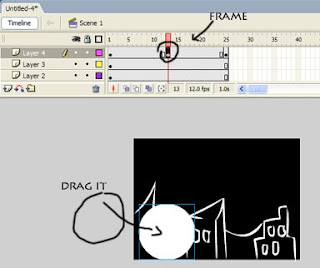
Step 14
Activate layer 4 and choose frame 13 (first keyframe), then using move tool, move the circle to the workfield by hold left click and drag it, like in the example below.
Step 15
Just like in step 14, now in frame 25 layer 4, move again the circle to left side of workfield.
Step 16
-on layer 4, hold left click and select frame 1 till frame 25 to select it. Then, right click and select create motion tween.
-It will look like the example
Step 17
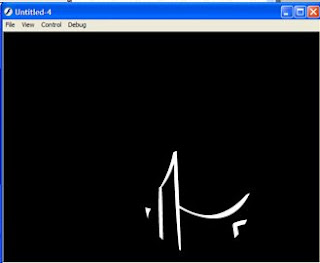
Now, let's give it a try, control-test movie
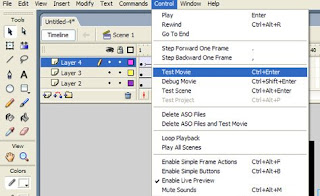
Step 18
It will look like the white circle moving through the city

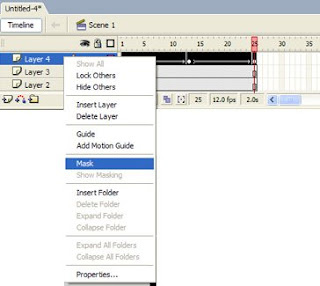
Step 19
Close the movie, then click layer 4, then right click and select mask
note :make sure the exact position, layer 4(top),layer3(middle),layer2(bottom)
if not, it will not work correctly.
Step 20
if you did step 1-19 correctly, it should like this
Step 21
Test it again, control-test movie
Step 22
To export itu, u can use many different file types, but for now i used gif.
file- export movie- select file type (gif)
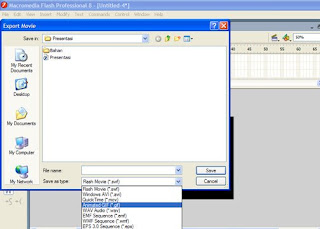
This will look like this:

Enjoy, and use your creativity to improve this trick!

 Now, let we create ipod nano using corel draw x4. This is a very cool gadget and simple design but we will create it eye catching, maybe next time you will need this trick to make your own advertising brochure about gadget. :)


